Contributors
Content by Michelle Mero Ridell, Washington County U of M Extension Master Gardeners, and Stephanie Hankerson. Learn to prepare, sow, and care for winter-sown seeds.
Choosing Containers
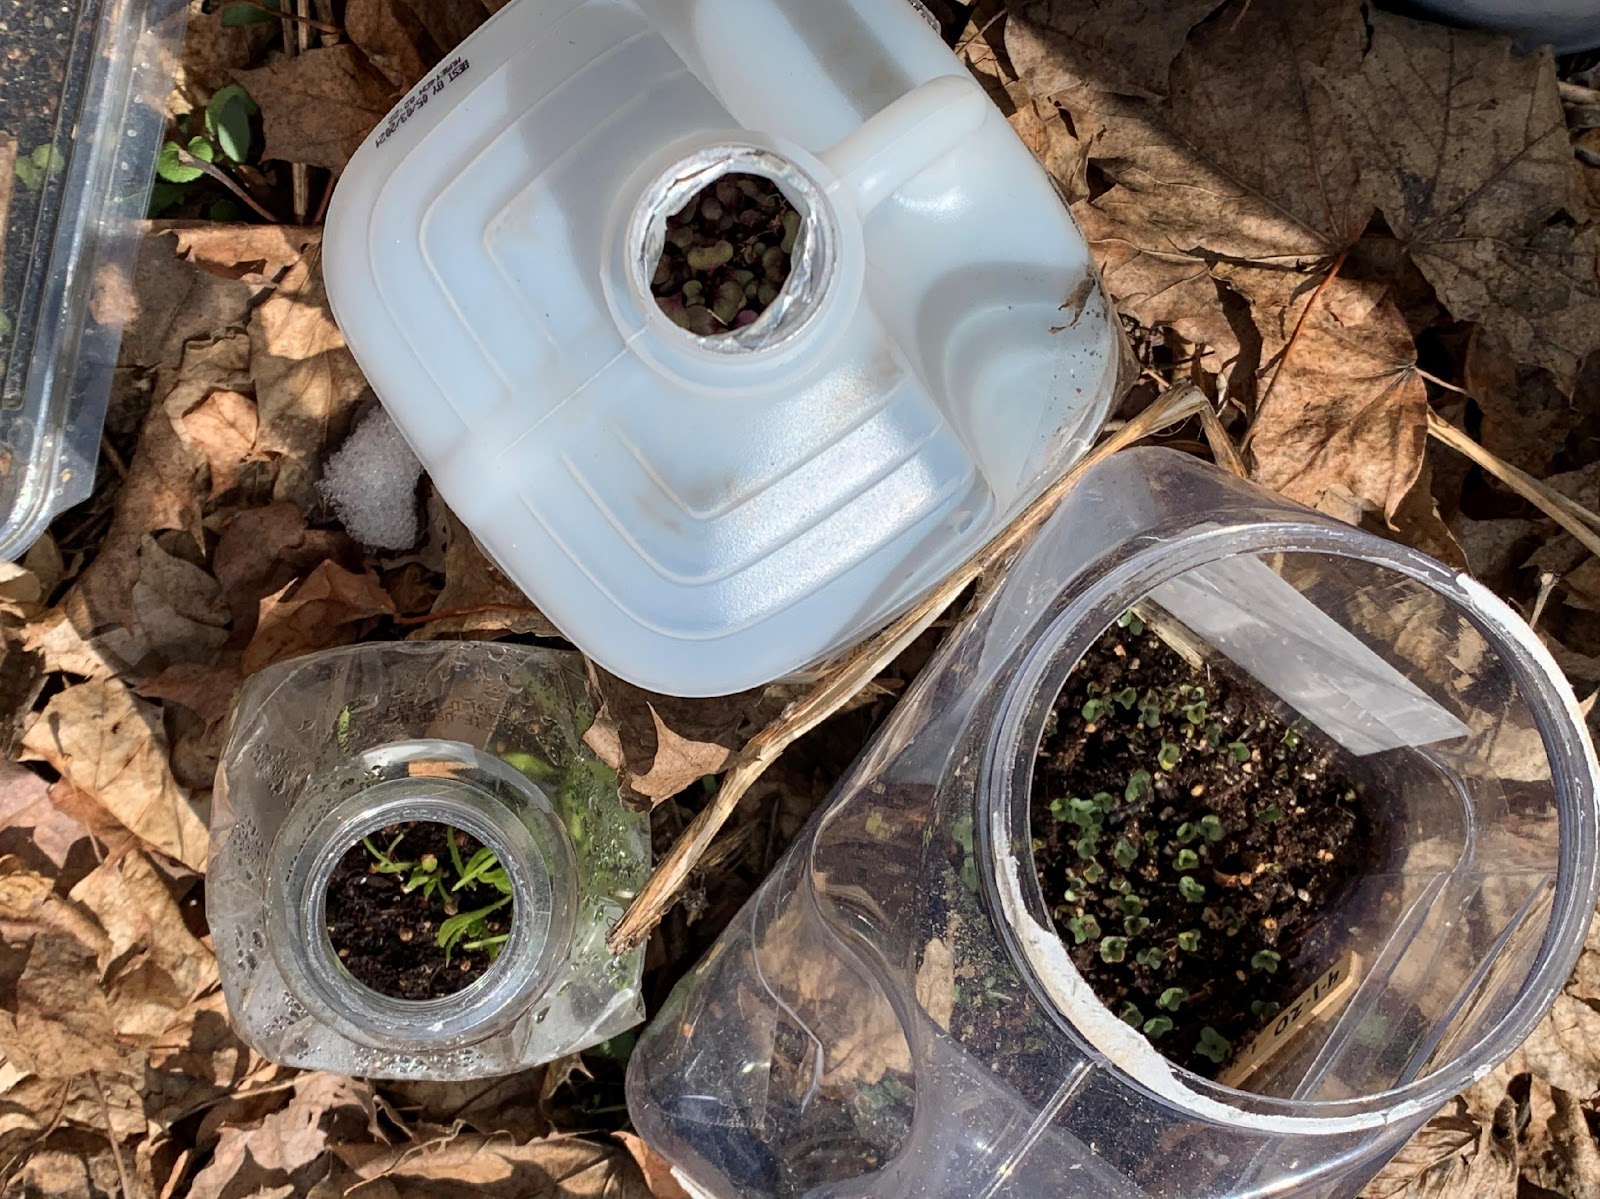
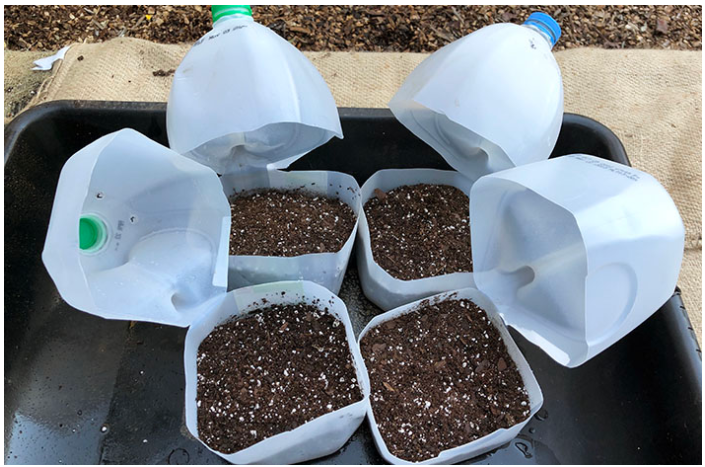
Gallon sized milk or similar containers: Rinse well and toss cap. Cut a horizontal line with a utility knife from one side of the handle to the other about 3-5” from the bottom jug, leaving a 1” hinge. Grab the handle and pull back to open the container. Again, don’t cut all the way around so you will still have a hinge.
Make four holes in the bottom of the jug. A utility knife works well to do this, but you could also melt the plastic using a glue gun or woodbuming tool in a well ventilated area.
Bakery, takeout, produce, or rotisserie chicken containers: Wash and rinse well. Poke holes in the top and bottom (box cutters or Exacto knives work well) to allow for snow melt/watering and drainage.
Prepare & Sow
Add approximately 3” of soil (up to 1’ below the cute line on milk jugs), then even the soil to get rid of peaks, valleys, and clumps. Do not pack the soil down - your seeds need space to root.
Add seeds,a s many as you wish (only one plant type per container), and spread evenly.
Cover with soil matching the diameter of the seed (e.g. if the seed is ⅛” in diameter, add ⅛” soil). Additional soil is not needed if the seeds are very tiny.
Place a plant label (or the empty seed packet) against the inside of the container wall. Information should be tracked either on the label or somewhere handy: color, light requirements, height, etc. Also mark the outside of the container with the plant name and date - preferable in two areas, top and bottom. Use a waterproof marker or paint pen, either on small labels or directly on the plastic surface.
Water well so the soil is muddy and water drains out the bottom.
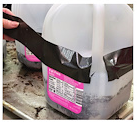
Close the cover and tape in place; clear duct tape or clear heavy duty packing tape works best.
Place outside on the east, west, or south side of your house. Allow snow to pile on top - as the snow melts it will automatically keep your soil moist. Your containers should have condensation forming on the inside, but not drip excessively through the bottom holes. If you don’t see any condensation and there’s no snow on top, lightly water to keep the soil moist.
Note: Containers should get approximately 6 hours of sun a day. Place the containers away from play areas and out of reach of curious pets. Do not put it under a deck or roofline.
Tips & Tricks
Use potting soil mix that includes organic materials
Sow perennials and hardy annuals in January, February, and March. Sow tender annuals, herbs, and vegetables April 1-20.
Check containers for drying and add water if snow and rain are sparse in spring. Be very gentle when watering small seedlings, bottom watering is recommended.
After germination, open containers during hot spring days, but also watch for below freezing nights when you will need to close containers up again.
Once weather is consistently warm (usually after May 15), remove the lids as your seedlings mature or if they’re outgrowing their container.
Once spring temperatures are consistently warm, you may want to move your containers to a spot that receives less sun - they should not be allowed to completely dry out.
Once the lids are removed, you may want to take precautions against squirrels, rabbits, or birds. For critter control, place chicken wire or mesh on top, or place the containers in large cardboard boxes (make sure they still get enough sunlight).
Wait for mature roots before dividing. BE PATIENT! Some seedlings take longer than others to appear, and plants don’t grow at consistent rates - even in the same container.
